Showing posts with label Embroidery. Show all posts

Monday, January 21, 2013

Snowflake Fingerless Mitts and Rustic Pear Tart


Hum hum ~ girls in white dresses with blue satin sashes; snowflakes that stay on my nose and eyelashes; silver white winters that melt into spring ~ these are a few of my favorite things ~  I'm sure most of you recognize this refrain from the Sound of Music.  Alas, without a proper Winter I have no snowflakes on my nose or eyelashes.  Instead I've embroidered snowflakes onto my fingerless mitts.  A wise person makes do with what one has, so I believe.  After a particularly severe cold snap our Winter has apparently come and gone in a matter of weeks.  Yet it's still cool enough in the mornings to need fingerless mitts and shall be through May!


It's the ability to add my own touches that makes knitting so satisfying and a unique expression of my personal taste and style.  And I find embroidery a quick and easy means to beautifully embellish my knitting.  I added this snowflake to the mitts by using a simple combination of the basic running stitch and detached chain stitch.  That combined with using a sparkly yarn for the embroidery helped turn these ordinary mitts into something more special.  


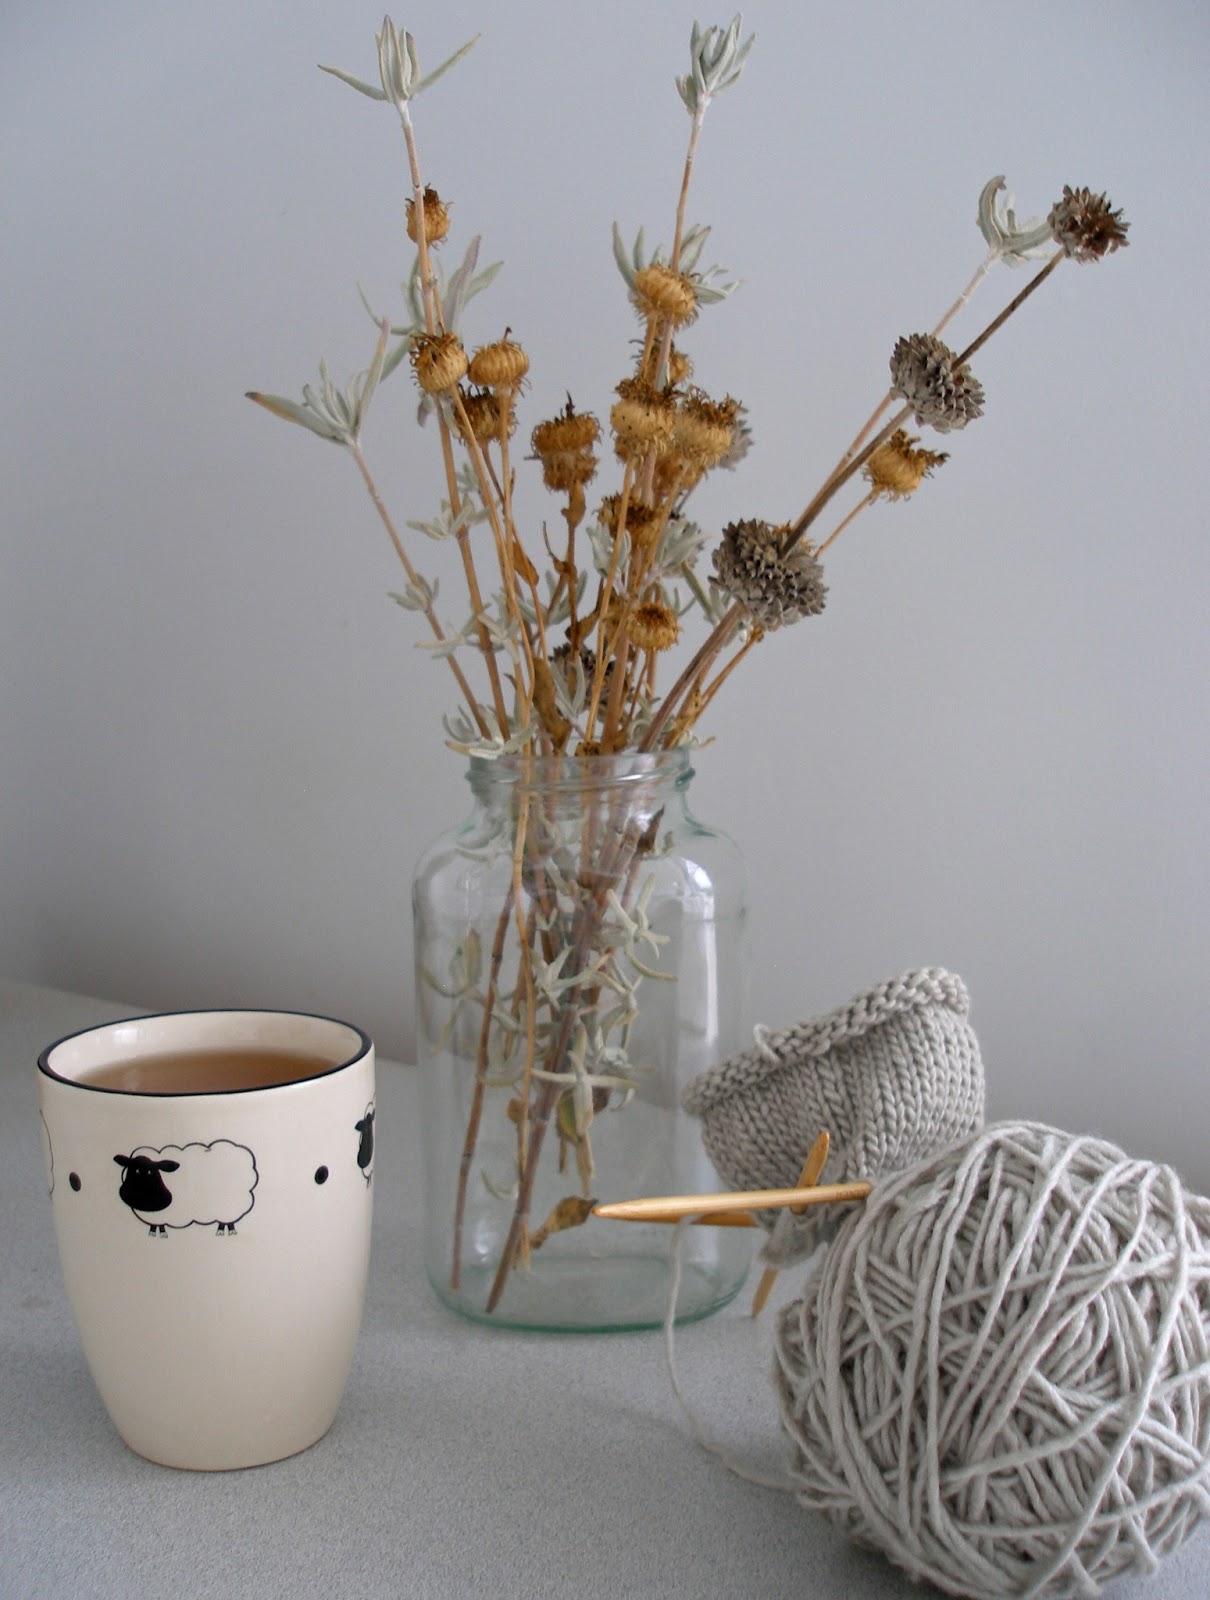
Particulars:  Snowflake Fingerless Mitts; this is a person pattern that I'll eventually share as a free pattern but first I want to test knit it again to eliminate any mistakes. I used 2 Skeins Manos del Uruguay (silk blend); US 5 & 6 DPN.  Over the years I've knit many many pairs of fingerless mittens but a couple of my favorites are my Kyla Fingerless Mitts and Welted Fingerless Gloves  For this design I thought the finished mitts were a bit limp so I slightly felted the finished mitts in the dryer to firm them up and make the yarn more dense and that worked beautifully.  I used a sparkly metallic yarn to embroider the snowflakes to give it some sizzle and shine.  You can find many embroidery templates online; I used this snowflake design as my guide.  

Rustic Pear Tart ~


After consuming way too many sweets over the holidays it's nice to change things up with a savory and mellow dessert and I found this pear tart to be just the ticket.  Along with pears it has cranberries and hazelnuts and has a nice kick of citrus.  However I found it does not keep well and is best eaten the same day baked.  The recipe is inspired by the nutty cranberry pear tarts published in the 2009 Southern Style Christmas Cooking magazine but modified to reduce sugar and fats and ingredients I have on hand.  My version is shared below.
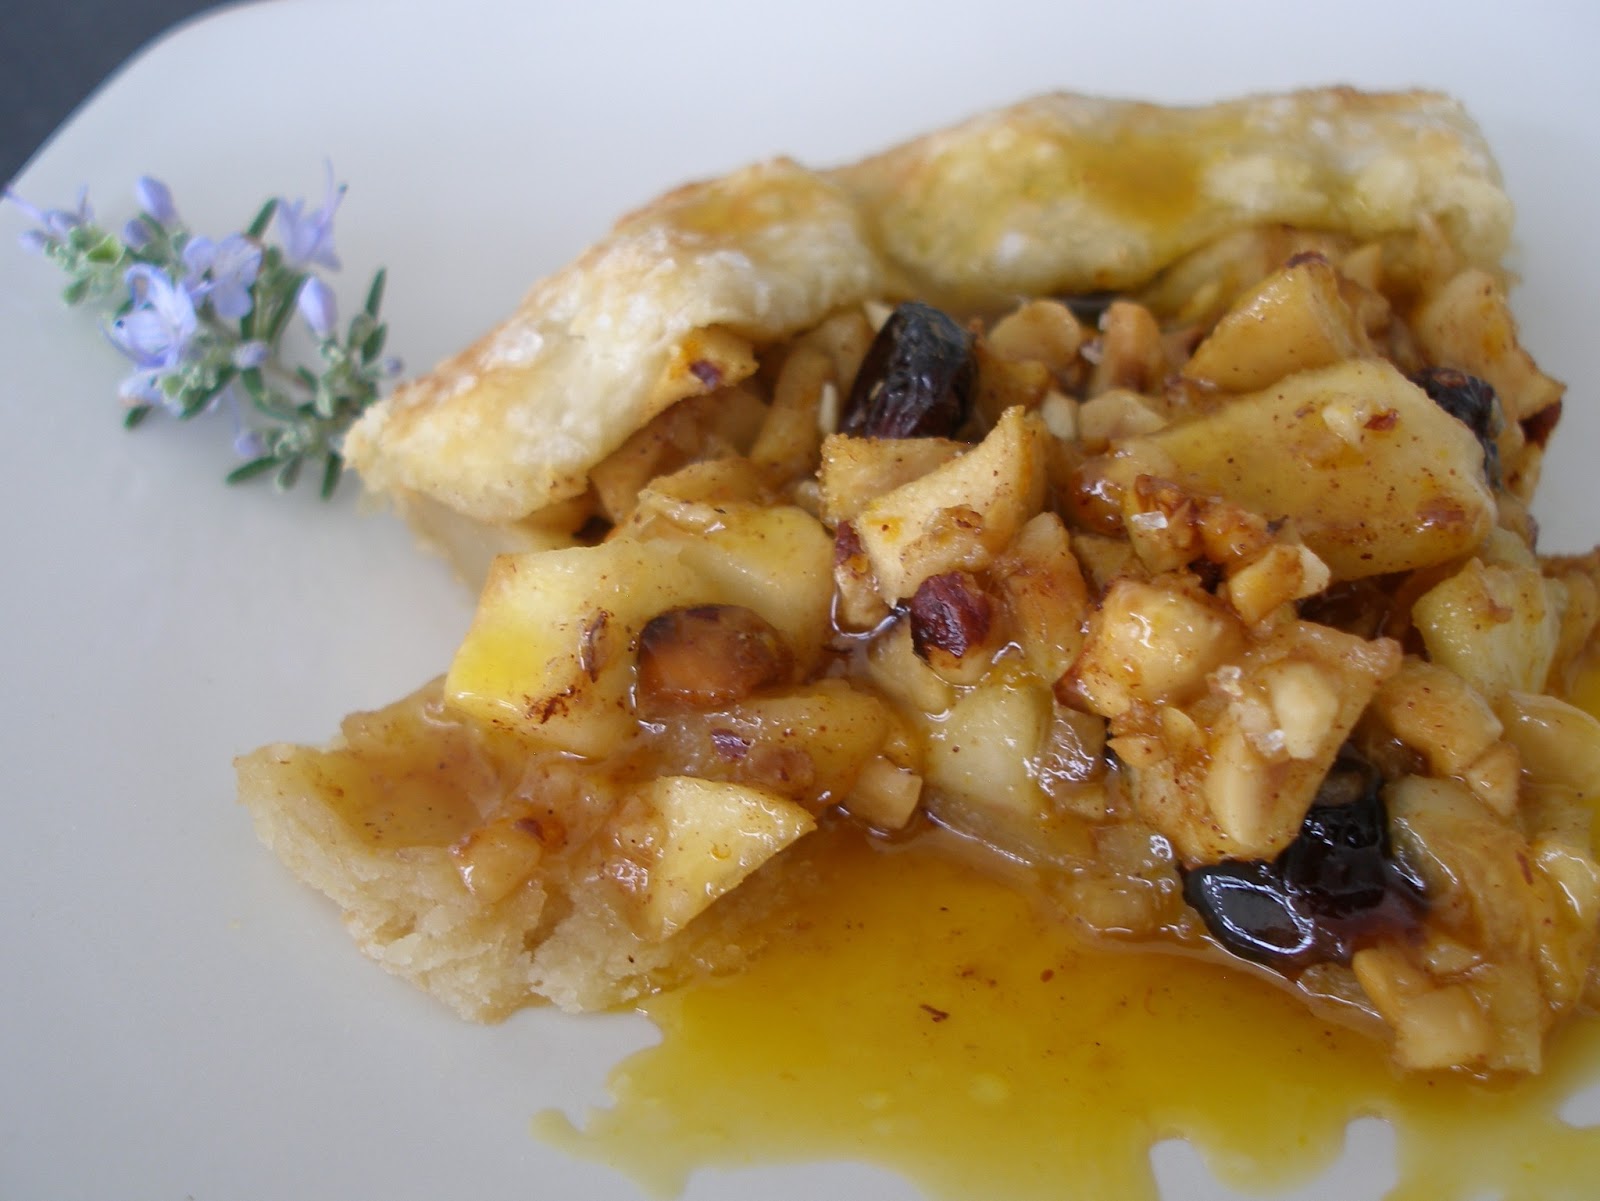

Rustic Pear Tart

Tart Ingredients:
2 ripe pears (pealed, cored and diced)
1/4 cup light brown sugar
1 Tbs. melted butter
1/2 cup toasted hazelnuts (skins removed and finely chopped).  Plus extra for garnish
1/2 cup dried cranberries (I used whole organic cranberries)
2 Tbs. honey
1 Tbs. orange zest
1 Tbs. orange juice
1 tsp. vanilla extract
1 pinch ground cardamon
1/4 tsp. cinnamon

Egg Wash:
1 egg white mixed with 1 tsp water

Pie Dough Ingredients:
I used the dough recipe I used for my raspberry tart but I think any pate brisee (pie dough) recipe would work such as Martha Stewart's.

Orange Syrup Ingredients
1/2 cup fresh orange juice
1/2 cup sugar
1 Tbs fresh honey

Steps:

1.  Preheat oven to 350 degrees and line a baking sheet with silpat or parchment paper;
2.  Combine tart ingredients;
3.  Make Pie Dough and roll into a large circle.  Transfer dough to baking sheet and spread pear mixture in the center leaving approximately 1 inch to fold over for crust;
3.  Brush egg wash over crust and sprinkle with sugar;
4.  Bake approx. 30 minute or until fruit mixture is bubbling.  Check tart frequently and to prevent burning cover with foil after crust is golden brown; and
5.  Serve warm with orange syrup.  Orange Syrup: combine all ingredients in a sauce pan and bring to boil and cook for 5 minutes.  Remove from heat and cool to room temperature.  Can be stored in refrigerator.
6.  Garnished with fresh mint and extra chopped hazelnuts and/or cranberries.

Until next time be well and love well and don't forget Valentine's Day is soon approaching.  Valentine's Day is a fun and whimsical holiday to celebrate anyone who is special in your life.  So have fun and please don't be restricted to traditional ideas of who can be a Valentine!

Wednesday, August 1, 2012

Embroidered Locket Tutorial ~

Lockets have always appealed to me, ever since I received my first locket as a gift when I was a young child.  It was a tiny locket on a pretty gold chain and I knew exactly whose picture I wanted to be in that locket.  It was our family dog, Cha Cha.  With the help (and approval) of my mother I found the perfect picture of Cha Cha and cut out her face and glued it into my locket.  I can still remember how much I loved seeing her furry face peering out at me whenever I opened that locket.  To this day when I think about Cha Cha it's that image of her face that I have captured forever in my heart.  And that's why I think lockets are special.  They are a tangible way to always carry with you the memory of a special someone.

And since peak of Summer is a perfect time to take a break from knitting, I'm going to share with you a favorite quick project of mine which is  making an embroidered locket.  The lockets I like to use have two sides (one side for a picture and one side to decorate with embroidery).


How to make a free-style embroidered locket ~

This is a very easy project but a basic understanding of embroidery is necessary (and assumed) such as how to use an embroidery hoop, etc.

Step 1:  Gather your materials (linen fabric, embroidery floss, empty locket, etc.).  I have listed below the links and/or sources to all the materials I used to make the lockets shown in this post.

Step 2:  Find a coin or other small object to measure the area you want to cover in your locket to use as a template.  Whatever design you want to embroider it will have to fit within this area.  Using a pencil or marker trace lightly around the coin onto your linen fabric to give yourself a visual guide to the area your embroidery design can not exceed.

Step 3.  These lockets are made using free style embroidery, which simply means that I didn't use a pre-printed design.  Instead I visualized a picture of what I wanted to embroider and made a few rough sketches on the linen fabric and then began filling in the picture with embroidery stitches.  For example, the top locket is a cluster of foxglove flowers.  I used a combination of straight stitches and french knots in this design.  I used the straight stitch to make the grasses and flower stems and french knots to create the flowers.  You can be as inventive or elaborate as you wish in your design, but the small size of a lockets probably works best with a simple design and stitches.

Step 4.  This is important!  After you finish with your embroidery you will cut out the circle of fabric you drew INCREASED by an additional 1/4 inch edge.  You will then apply a small amount of basting glue to this additional 1/4 inch of fabric and fold it over over to make a "hem."  This "hem" is to prevent fraying of the fabric edge which could happen if you simply cut out the circle of fabric in the size you need.

Step 5.  Apply a small amount of basting glue to the entire back surface of your fabric circle and quickly place it into the locket holding it firm until the glue sets.  I use a blunt knitting needle to press and ease the fabric into place being careful not to crush the embroidery stitches as much as possible.

Step 6.  Attach a piece of linen string for a necklace and begin the hunt for the perfect picture to add to your locket!  These are nice to have on hand when you want to include a little something handmade into a gift.


Supplies/Materials: a small piece of linen fabric (I purchase my linen squares from Lorna Bateman's etsy shop); an embroidery hoop; several colors of embroidery floss (I like to use DMC floss (available at most craft stores) and chameleon hand-dyed threads from South Africa (I purchase mine from Loran Bateman's etsy shop) both types of embroidery floss are used in these lockets; an embroidery needle; an empty locket (the lockets used in this post are a combination of brass and copper; 1.5" diameter; and were purchased in bulk on Etsy under "supplies"); basting glue (I like both Jillily Studio Appli-Glue and Glue-Baste-It); a coin or similar object that can be used to trace the inner circle of your locket; a small piece of linen string to use as a necklace cord (mine is 26 inches long and hangs 13 inches down); and ~ inspiration ~ you can see from my lockets I am inspired by flowers and nature.  Embroidery is very easy to learn with lots of free resources online.  If you are new to embroidery I think the following link is a helpful resource to explain the stitches along with helpful diagrams: embroidery stitch dictionary.

The MisAdventures of Simcha


Simcha has been remarkably well behaved these past few months.  Well, except for those dress shoes of Steve's he destroyed and the rolls of toilet paper he chewed up and the ear of corn he stole and the ceaseless barking at coyotes.  But all in all we are seeing improvements!

Until next time, be well and love well and may you always hold in your heart the memory of those you love.  In closing here's a picture of me holding Cha Cha, our family dog, who was a gift to me and my sister as well as my parents.  We all loved her very much.


Monday, June 27, 2011

Sheepish Pincushion


Some people lose interest in knitting during the Summer months when the days are sweltering hot, humid, and sticky and the heat is oppressive.  But not me.  I knit year round regardless of the weather.  And yet.  When it's very hot outside it is nice to have other crafts to work on that do not involve handling wool.  Such as embroidery. 


Like most knitters I love sheep from whence all fleece and hence yarn comes.  So when I saw this cute sheep adorned pincushion I couldn't resist. 


It came as a kit with everything included and very clear instructions so that even someone such as myself with relatively little embroidery skills could make it quite easily.  The nice thing about following a well written pattern is that once you've made it you can then transfer that knowledge to other projects.   I can see embroidering these cute sheep onto dishcloths, children's bibs and other clothing items.


The sheep are each embroidered with a different stitch to give a different texture and, while I hadn't thought about it before, sheep do have a variety of fleece.  Maybe sheep fleece is like hair and some sheep are just lucky to have beautiful glossy locks while others are unlucky and have a frizzy mop.  Rather like a perpetual bad hair day.


Particulars: Counting Sheep Kit (sold on Etsy) designed by Lorna Bateman of Vari-Galore Embroidery. Stitches include bullion knot, couching, drizzle stitch; satin stitch, and french knot.  The Kit came with everything I needed including needles and a handy stitch glossary for future reference.  I followed the instructions exactly and couldn't be happier with my finished pincushion.  I was also impressed with the silk floss and hand dyed thread that came with the kit.  I actually ordered more of the floss which is made by Chameleon Threads of South Africa.  If you are interested in hand embroidery I follow some blogs that regularly feature embroidery including Tiny Happy Posy Gets Cozy, and Allie-Oops Sweet Happy Life.


The MisAdventures of Simcha

Investigation into the case of my missing cake flour.

Really?  It wasn't you?  Because you were the last one in the kitchen where I had my cake flour. 

While Simcha maintains that he is innocent, I'm confident that I have my man.  At 18 months Simcha is still getting into mischief but is more cuddly and forgivable all the time.  Still, he does need a job and I am delighted to report that we have found him one and it involves sheep!  But I'll tell you more about that another time.
 
Until next time, be well, love well, and this Summer try varying your knitting with another craft, such as hand embroidery!

Friday, October 2, 2009

Crafting with Wool Felt


I'm primarily a Knitter, but I also enjoying mixing things up and, lately, I have been experimenting with embroidery and wool felt. I'm pleased with the result and so am passing along to you this cute project idea, which is easy and satisfying no matter how meager or vast is your experience with embroidery.

Pictured above is a small brooch that I embroidered on wool felt. The idea (and "know how") to make this brooch came from Tiny Happy who has a talent for beautiful free style embroidery, mostly inspired from nature. She simply plucks and pillages small bits of foliage from her garden which then becomes the model for her designs.

Following her lead, I set about finding my own inspiration to make a brooch.... which led to Steve wanting to know why I was taking pictures of weeds. I patiently explained that these were not weeds, they were my inspiration!

I'm sure if you look at the picture below, and then compare it to the photo above of my brooch, you will see with what talent I captured these weeds, ahem, flowers. You don't have to say it. I know you can. Because this was my first brooch, I went with a simple design (as recommended by Tiny Happy) and used a combination of running stitch and french knot. I've enjoyed wearing it several times and have since then made several more brooches of different designs and colors that I like equally well!


You'll naturally want one for yourself, but I think they also make cute gifts. With the fast approaching holiday season it's always a good idea to have a few small gifts items on hand for teachers, neighbors or hostesses or for simply whenever the mood strikes you to make someone smile! If sewing isn't your thing, the washcloth shown above takes just minutes to knit and, along with a nice bar of soap, is another quick gift idea.

The handmade bar of soap pictured is from Lizzy Lane Farm . I enjoy this blog which provides a glimpse into country life complete with chickens and a little girl named Daisy. She uses the money from her sales to pay for school books and I wish her every success. I'm sure that I'll buy more as I have thoroughly enjoy using this soap which is scented with roses and has small pieces of oatmeal for exfoliation and is not at all drying to my hands.

Particulars: tutorial on making a felt brooch is found here; brooch dimensions: 2" diameter; I bought the wool felt (and matching embroidery floss) from Prairie Point Junction ( i.e. the wool felt connection); a comprehensive free on-line embroidery stitch dictionary is here; the chenille yarn for the washcloth is from Dancing Leaf Farm; to knit the washcloth I used US 11 needles - cast on 14 stitches - and knit every row until I had a square; you can buy the rose scented oatmeal soap here; the Wool Fat soap I buy from British Import shops.

As you can see, Mr Puffy is feeling great and getting out and enjoying himself. He is eating like a field hand and we like to say to him "Puff, you are A SURVIVOR!"

Steve and I thank you all for your well wishes and concern. Until next time, be well, love well, and happy crafting!

Wednesday, October 8, 2008

A Very Vintage Halloween Swap!

It's finally time to share my Very Vintage Halloween Swap goodies! My swap partner was the very talented Miriam, Crafter by Night, who really outdid herself as you will agree when you see everything she made and sent.

I'll begin with the main gift and that is the hanging art quilt that she made. She describes the process of making a quilt as painting with fabric and her quilt really is like looking at a painting.

I love the design Miriam chose. Her family comes from Iowa farmland so the Fall harvest time has always been an important part of her life and she has beautifully captured her love of the harvest in this piece.

There is so much that went into making this quilt that you really need to read her description of the process in her own words which you can find here. Even though quilting is the quintessential American art form, it's something I know very little about.

But I do know that I love looking at this picture. I haven't quite settled on it's permanent home. Right now I'm just enjoying trying it in different places.


This was a very loosely structured swap and the only guidance that I gave to Miriam is that I love Fall and for me Halloween is a whimsical time. As you can see she incorporated both of these themes into her gift with the quilt representing our mutual love of Fall and these little fellows representing the more whimsical side to Halloween.....

Both the ghost and pumpkin are crocheted. So cute. Mr Puffy loves this ghost. He says it reminds him of that great Halloween classic, It's The Great Pumpkin, Charlie Brown. Mr Puffy would love to be a movie star just like Snoopy and has written to him asking the name of his agent. He's hoping to have a role in next year's Thanksgiving Special.

But of course it wouldn't be Halloween without out some CANDY! Which came in it's own special felt pouch! This is just too cute and may serve as my private candy stash bag all year long!


Didn't I have the best swap partner ever! It was a very eclectic group that participated in this swap. You will have fun looking at all the Halloween swapping and get some cute Halloween decorating ideas if you head on over to the blog of our lovely hostess, Heidi, at Foxgloves, Fabric and Folly who has links to all the participants in this A Very Vintage Halloween Swap!

So how will I celebrate Halloween this year. Thinking about the cooler days and looking at my cute little ghost put me in mind of how I shall enjoy the holiday. This Halloween in addition to watching a scary movie (link to Halloween Classics) I'm going to pour myself a nice glass of port wine. I will savor the sweetness of it with Stilton cheese, nuts, and maybe some pear slices while I reflect on the changing seasons and how important it is to make each day count.

Monday, August 18, 2008

The Domestic Arts


My mother is an excellent knitter, as you have seen from the few examples I have shared. But growing up I never saw her knit. She was at that time in her life very much into embroidery and needlepoint. This picture was hand embroidered by my mother and hangs in my guest bedroom. My parent's home is full of beautiful examples of similar tapestries that she has either had framed, as this one is, or made into pillows that grace various chairs and couches.


My mother no longer does any needlework, but when she did she never worked from a kit as she enjoyed the process of selecting the colors herself. I remember the care she took with choosing which colors to place where. She has a particular talent for understanding and choosing color combinations. It is from watching her that I invest a lot of time into selecting the right yarn and color for a knitting project. We're talking years here. If you notice, my projects are hardly ever cutting edge. That's because I take a long view of a knitting project. Even Mr Puffy becomes exasperated at times. You should see him roll his eyes when I tell him I'm still looking for the yarn for his sweater. That project has seriously been long overdue. But I digress.

I love this style of embroidery. So often now when you see embroidery it is of the style that merely outlines an image with a simple back stitch. Close examination of my mother's embroidery shows that she not only fills in the image but she also uses a variety of embroidery stitches to give texture and character to a piece.


I have done a little embroidery myself, but not for many years now. I am going to add embroidery back into the mix, though, as I like to vary my hobbies. To vary one's hobbies is not only good for the hands but is also helpful to keep a balance in one's life.

Working from iron-on transfers allows you the most flexibility. You can add the iron-on transfers to tea towels, guest towels, or as a small embellishment to an otherwise plain white t-shirt. When I was in my late teens, a favorite top of mine was a plain white t-shirt on which my mother had embroidered small yellow flowers to match a pair of my yellow tennis shorts. I loved that outfit. I'm not sure I ever won any tennis matches wearing it. But, oh, how I did love wearing it.

I recently found some of the iron-on embroidery transfer books and now I am in search of linen embroidery blanks. The linen blanks are hard to find and I may just have to settle for something less than perfect if I wish to get underway. Ideally I would like to use a plain white Irish linen. Not easy to find, let me tell you. If anyone has any suggestions as to where to find embroidery blanks, I would love to hear from them.

My mother used to buy her supplies, as did I, at Thumbelina's in Solvang, California. Amazingly this shop is still in business but now it primarily carries cross-stitch and needlepoint supplies. By the way, if you ever have the occasion to be driving along the southern coastline of California, be sure to take the minor detour inland to visit Solvang. It's a small Danish town that is full of shops and more importantly, has wonderful Swedish smorgasbords and Danish pastries.

These are the transfer books I ordered, and some examples of the designs. As you can see, I'm a fan of Beatrix Potter and all things fairy; these transfer books (along with others) can be found on-line here and here. If you are interested in learning embroidery, here's a link to some basic embroidery stitches, Needle 'n Thread.


It's hot here, there and just about everywhere; so I hope you enjoyed this cool refreshing break from woolly topics! Have a terrific week everyone and remember Fall is just around the corner.